In this article, we will guide you on how to use the night mode feature on your smartphone’s camera. You will learn step-by-step instructions on how to access and activate the night mode feature, as well as tips and tricks to capture better low-light photos. Whether you’re attending a party, exploring a city at night, or simply trying to take pictures in a dimly lit room, this guide will help you make the most out of your smartphone’s camera in low-light conditions. So, get ready to enhance your nighttime photography skills! With advancements in smartphone camera technology, taking high-quality photos in low-light conditions has become easier than ever. One of the most useful features for this purpose is the Night Mode feature. Whether you’re capturing stunning cityscapes at night or trying to snap a clear picture of the stars, Night Mode can significantly improve your smartphone photography in low-light environments. In this guide, we will explore the Night Mode feature in detail, including its advantages, when to use it, how to activate it, tips for taking photos with Night Mode, utilizing it with flash, adjusting exposure and focus, overcoming common challenges, editing and enhancing Night Mode photos, comparing Night Mode with other features, and exploring Night Mode on different smartphone brands. So grab your phone and let’s get started on mastering the Night Mode feature!
Understanding the Night Mode Feature
What is the Night Mode Feature?
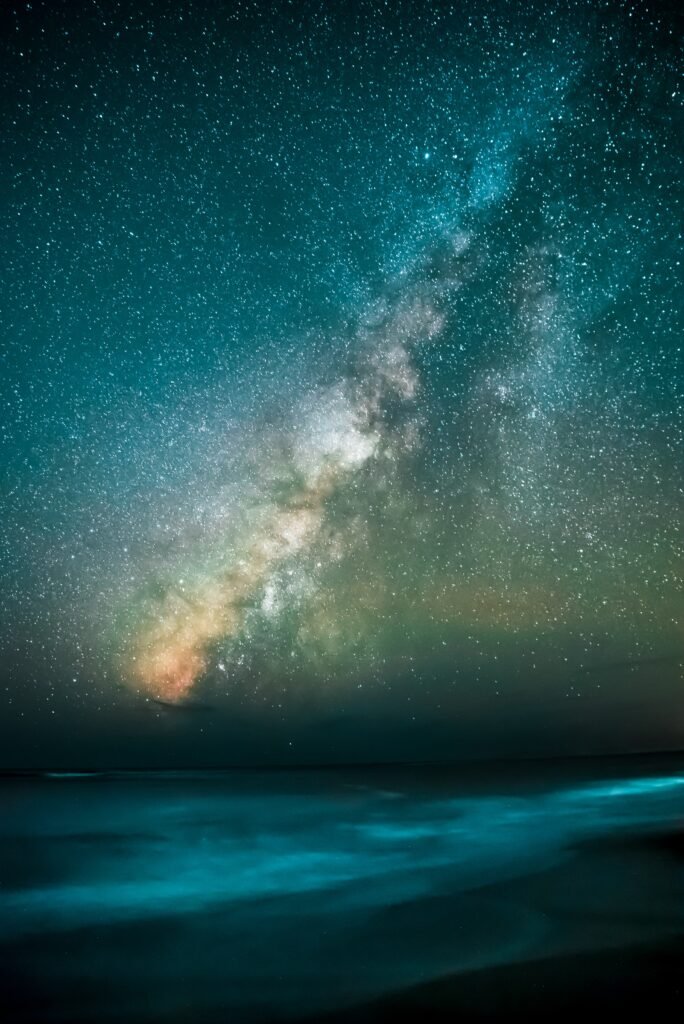
Night Mode is a camera feature available on many modern smartphones that allows you to take better photos in low-light conditions. It works by optimizing the camera settings to capture more light, resulting in brighter and more detailed photos. The feature combines multiple images taken with varying exposures to create a single, well-exposed image. It is particularly useful when shooting in environments with dim lighting, such as at dusk, in the evening, or during night time.
Advantages of the Night Mode Feature
The Night Mode feature offers several advantages for smartphone photographers:
-
Improved Low-Light Performance: By capturing more light, Night Mode enables you to take better photos in low-light conditions without the need for additional lighting equipment.
-
Reduced Noise: When shooting in low light, images often suffer from noise or graininess. Night Mode algorithms help reduce noise, resulting in cleaner and sharper photos.
-
Enhanced Detail: Night Mode helps to preserve finer details and textures that might otherwise be lost in dark or shadowy areas of the image.
-
Increased Dynamic Range: The feature balances light and shadow to expand the dynamic range of the photo, resulting in more balanced exposure and better overall image quality.
-
Longer Exposures: Night Mode allows for longer exposures, which can capture unique effects such as motion blur in moving objects or light trails.
When to Use the Night Mode Feature
Night Mode is best suited for situations where there is limited available light. Some ideal scenarios for using Night Mode include:
-
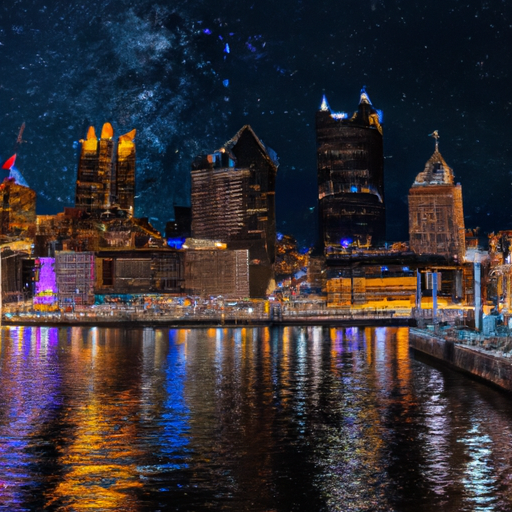
Capturing Street Scenes: Night Mode can create stunning photos of city streets at night, highlighting the vibrancy of the illuminated buildings and bustling nightlife.
-
Landscape Photography: When photographing landscapes during twilight or in low-light conditions, Night Mode can produce dramatic and well-exposed images.
-
Indoor Photography: In poorly lit indoor environments, such as dimly lit restaurants or museums, Night Mode can help capture clear and properly exposed photos without the need for a flash.
-
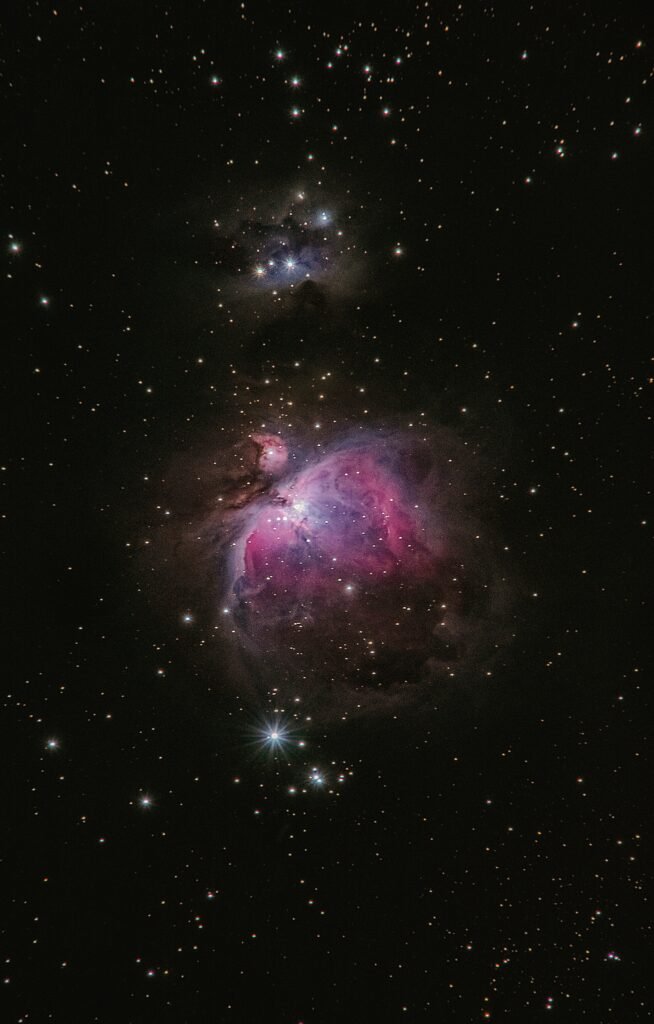
Astrophotography: Night Mode can be particularly useful for capturing astronomical phenomena like starry skies, the moon, or even the Milky Way.
Now that you understand the basics of Night Mode, let’s dive into how to activate and use this feature on your smartphone.
Activating the Night Mode Feature
Locating the Night Mode Option
To activate Night Mode, open the camera app on your smartphone. Depending on the brand and model of your device, the Night Mode option can be found in different locations. Look for an icon that resembles a moon or a night-time scene, usually found in the camera app’s mode selection menu.
Enabling the Night Mode Feature
Once you’ve located the Night Mode option, simply tap on it to enable the feature. Some smartphones may automatically activate Night Mode when it detects low-light conditions, while others require manual activation. If your phone has an automatic mode, consider enabling it to automatically switch to Night Mode when needed.
Adjusting Night Mode Settings
To further refine your Night Mode experience, many smartphones offer options to adjust the settings. These settings can include increasing or decreasing exposure time, adjusting the level of brightness, or even enabling features like the Self-timer or Burst mode alongside Night Mode. Explore your smartphone’s camera settings to see if there are any additional options available for Night Mode customization.
Now that you’ve activated Night Mode on your smartphone, let’s move on to some tips for capturing the best possible photos using this feature.
Taking Photos with Night Mode
Choosing the Right Subject
When using Night Mode, choose subjects that are well-suited for low-light photography. Scenic views, cityscapes, architectural details, or anything with interesting light sources can make compelling subjects. Experiment with different compositions and perspectives to capture unique and captivating images.
Holding the Phone Steady
Since Night Mode involves longer exposure times to capture more light, it’s essential to keep your phone as stable as possible to prevent blurriness. Hold your smartphone with both hands, tuck your elbows into your body for support, and consider leaning against a stable surface or using a tripod for added stability.
Using a Tripod for Long Exposures
For longer exposures or to capture more intricate night scenes, using a tripod is highly recommended. A tripod eliminates any camera shake, producing sharper and more detailed images. Many smartphone tripods are portable and lightweight, making them convenient to carry around for night photography.
Utilizing Night Mode with Flash
Understanding Flash and Night Mode Compatibility
Some smartphones allow you to use Night Mode in conjunction with the flash, while others disable the flash when Night Mode is activated. The purpose of Night Mode is to capture natural-looking photographs in low-light conditions by maximizing available light. However, if you want to highlight a specific subject or add a creative touch, using the flash with Night Mode can create interesting lighting effects.
Using Night Mode with and without Flash
Experiment with using Night Mode both with and without flash to see which produces the desired effect for your photos. Without flash, Night Mode will capture the available ambient light, resulting in a more natural and atmospheric image. With the flash, the subject will be illuminated by artificial light, potentially creating a more vibrant and detailed photo.
Benefits of Using Night Mode with Flash
Using Night Mode in combination with the flash can help you achieve well-exposed images in very dark or backlit situations. The flash provides an extra burst of light to fill in shadows and reveal details that may otherwise have been lost in the shadows. This combination can be particularly useful for portrait photography in low-light conditions.
Now that you’re familiar with using Night Mode and flash together, let’s move on to adjusting exposure and focus in Night Mode photos.

Adjusting Exposure and Focus in Night Mode
Using Exposure Controls to Enhance Night Photos
Many smartphone cameras offer manual exposure controls, allowing you to adjust the brightness of your Night Mode photos. If your device has this feature, explore adjusting the exposure to achieve the desired level of brightness in your low-light images. Increasing the exposure can help bring out more detail in darker areas, while decreasing it can add a moody and dramatic effect to your photos.
Importance of Focus in Night Mode Photos
In low-light conditions, achieving sharp focus can be more challenging compared to well-lit environments. To ensure your Night Mode photos are sharp, tap on the area of the frame you want to focus on. This will adjust the focus point and help the camera determine the appropriate focus distance. Take your time to ensure proper focus before capturing the photo.
Tips for Achieving Sharp Focus at Night
To improve focus accuracy in Night Mode:
-
Use Manual Focus: If your smartphone camera allows manual focus adjustments, consider using this feature. Manually adjusting the focus allows you to precisely control where the camera is focusing, ensuring the subject is sharp.
-
Utilize the Focus Assist Feature: Some smartphones have a focus assist feature, such as a flashlight or a laser guide. These can help you visually identify where the camera is focusing in dimly lit environments.
-
Take Advantage of Autofocus: If your smartphone has an autofocus feature, half-press the capture button to allow the camera to focus automatically. Once the focus is set, fully press the button to take the photo.
Now that you have a good understanding of exposure and focus in Night Mode photography, let’s discuss how to overcome common challenges you may encounter while using this feature.
Overcoming Common Challenges
Reducing Noise in Night Mode Photos
Despite Night Mode’s ability to minimize noise, some images may still contain a certain level of noise, particularly when using higher ISO settings. To reduce noise in your Night Mode photos:
-
Use Lower ISO: ISO determines the camera’s sensitivity to light. A higher ISO value can introduce more noise. When shooting with Night Mode, try using a lower ISO setting whenever possible.
-
Use a Stable Mount: As mentioned earlier, using a tripod or a stable surface will minimize camera shake, resulting in sharper images and reducing the appearance of noise.
-
Shoot in RAW: If your smartphone supports it, capturing Night Mode photos in RAW format allows for greater post-processing flexibility, including noise reduction.
Dealing with Low Light Conditions
In extremely low-light conditions, Night Mode may struggle to capture well-exposed images. Consider these tips when faced with challenging low light situations:
-
Use Additional Lighting: Carry a small portable LED light or use external lighting sources to add more light to the scene. This can help brighten the subject and improve the overall exposure of your Night Mode photos.
-
Experiment with Longer Exposures: Some smartphones offer manual control over exposure time. If you are in a very dark environment, increasing the exposure time can allow more light to reach the camera sensor, resulting in a brighter image.
Avoiding Overexposure in Night Mode
While Night Mode aims to enhance low-light photography, there is still a risk of overexposure in certain situations. To avoid overexposing your Night Mode photos:
-
Adjust Exposure Compensation: Some smartphones allow you to adjust exposure compensation, which controls the overall brightness of the image. Decrease the exposure compensation if your photos appear too bright or washed out.
-
Use the Histogram: The histogram is a graphical representation of the image’s tonal distribution. Familiarize yourself with the histogram in your smartphone’s camera app. Aim for a well-balanced distribution of tones to avoid losing details in highlights or shadows.
Now that you’re equipped with techniques to overcome common challenges, let’s discover how you can edit and enhance your Night Mode photos to truly make them shine.
Editing and Enhancing Night Mode Photos
Using Editing Apps to Improve Night Photos
To further enhance your Night Mode photos, consider using editing apps. These apps provide a wide range of tools and filters designed specifically for editing and improving smartphone photographs. Some popular editing apps include Adobe Lightroom Mobile, VSCO, Snapseed, and Pixlr.
Adjusting Brightness, Contrast, and Saturation
When editing Night Mode photos, pay attention to the brightness, contrast, and saturation levels. Adjusting these settings can significantly impact the overall look and feel of your images. Experiment with different adjustments until you achieve the desired result. However, be cautious not to over-edit, as it can lead to an unnatural appearance.
Applying Filters to Enhance Night Mode Shots
Many editing apps provide a selection of filters that can be applied to Night Mode photos. Filters can add a unique mood or style to your images, enhancing their visual appeal. Experiment with different filters to find the ones that best complement your Night Mode photos.
Now that you’ve learned tips for editing and enhancing Night Mode photos, let’s compare Night Mode with other camera features to understand its unique benefits.
Comparing Night Mode with Other Features
Night Mode vs. Auto Mode
Auto Mode is the default shooting mode on most smartphones, and it relies on the camera’s built-in algorithms to determine the optimal settings for the scene. While Auto Mode can handle low-light situations to some extent, Night Mode is specifically designed for capturing well-exposed photos in challenging lighting conditions. Night Mode excels in its ability to capture more light, reduce noise, and enhance detail in low-light environments, making it a superior choice compared to Auto Mode.
Night Mode vs. HDR Mode
HDR (High Dynamic Range) Mode is another popular camera feature that helps capture a more balanced exposure by combining multiple images taken at different exposures. While both Night Mode and HDR Mode enhance overall image quality, Night Mode is specifically tailored for capturing photos in low-light conditions. HDR Mode may struggle to properly expose images in extremely dim environments, while Night Mode excels in capturing well-exposed low-light photos with reduced noise.
Night Mode vs. Manual Mode
Manual Mode allows users to manually control camera settings such as ISO, shutter speed, and aperture. While Manual Mode provides the most flexibility and control, it may not be suitable for capturing fast-paced or spontaneous moments, especially in low-light conditions. Night Mode, on the other hand, optimizes the camera settings automatically, making it more user-friendly and convenient. It strikes a balance between control and automation, resulting in stunning low-light photos with minimal effort.
Now that you’ve gained insights into Night Mode’s unique advantages over other camera features, let’s explore how Night Mode is implemented on different smartphone brands.
Exploring Night Mode on Different Smartphone Brands
Night Mode on iPhone
Apple’s iPhones have been at the forefront of smartphone photography for years, and Night Mode is no exception. Introduced with the iPhone 11 series, Night Mode uses advanced algorithms and computational photography techniques to deliver remarkable low-light photos. To use Night Mode on an iPhone, simply open the camera app and tap on the Night Mode icon that appears automatically when the lighting conditions demand it. The camera will then automatically adjust the exposure and capture a well-exposed image.
Night Mode on Samsung
Samsung smartphones, such as the Galaxy S21 series and Note20 series, offer a powerful Night Mode feature known as Bright Night. Bright Night utilizes multi-frame processing and AI algorithms to improve low-light performance. To activate Bright Night on a Samsung device, open the camera app, tap on “More,” scroll to find Night Mode, and enable it. The camera will then adjust the settings to optimize the photo quality in low-light conditions.
Night Mode on Google Pixel
Google Pixel devices are renowned for their exceptional low-light photography capabilities, thanks in part to their dedicated Night Sight feature. Night Sight uses intelligent algorithms to capture vibrant and detailed photos even in extremely dark environments. To use Night Sight on a Google Pixel, open the camera app, swipe left to access the more options menu, and tap on Night Sight. This will activate Night Sight and adjust the camera settings for optimal low-light photography.
Now that we have explored Night Mode on different smartphone brands, let’s conclude our guide.
Conclusion
Congratulations! You have now mastered the Night Mode feature on your smartphone’s camera. By understanding its benefits, when to use it, how to activate it, and various techniques for capturing stunning photos in low-light conditions, you are well-equipped to unleash your creativity and capture exceptional nighttime photographs.
Remember, the key to achieving great results with Night Mode is practice and experimentation. Take your smartphone out at night, explore different subjects and scenes, and have fun pushing the boundaries of low-light photography. Additionally, don’t be afraid to experiment with editing and enhancing your Night Mode photos using various apps and filters to create unique and visually appealing images.
Now that you have unlocked the full potential of your smartphone’s Night Mode feature, go out and explore the world of nighttime photography. Improve your smartphone photography by embracing the possibilities offered by Night Mode, and capture breathtaking images even in the darkest conditions.
