In this article, you will learn five useful tips to optimize your smartphone camera settings and take better photos. Whether you’re a beginner or want to enhance your photography skills, these tips will help you make the most of your smartphone’s camera capabilities. From adjusting exposure and focus to utilizing HDR mode and shooting in RAW, you’ll discover ways to enhance the quality of your smartphone photos and capture unforgettable moments with ease. So, let’s get started and make your smartphone camera shine!

5 Tips to Optimize Your Smartphone Camera Settings for Better Photos
In today’s digital age, our smartphones have become an integral part of our lives. From communication to entertainment, they have revolutionized the way we interact with the world. One of the most remarkable features of modern smartphones is the camera. Capturing a precious moment or documenting the beautiful scenery around you has never been easier. However, to truly make the most of your smartphone’s camera, it is crucial to understand and optimize its settings. In this article, we will explore five tips to help you optimize your smartphone camera settings for better photos.
The importance of understanding your smartphone’s camera settings
Before delving into specific tips, let’s first discuss why it is essential to understand your smartphone’s camera settings. Your smartphone comes equipped with various settings that allow you to manipulate exposure, focus, white balance, and more. By understanding and using these settings effectively, you can take your photography skills to the next level.
Each camera setting serves a specific purpose. Adjusting the exposure and ISO levels can help you achieve the perfect balance of light and darkness in your photos. Mastering white balance ensures that the colors in your images appear accurate and true to life. By utilizing focus and depth of field, you can create stunning images with artistic effects. Understanding and leveraging the benefits of HDR mode can enhance the dynamic range and details in your photos. Lastly, manual mode gives you complete control over your smartphone’s camera settings, allowing for more advanced photography techniques.
Now that we understand the importance of knowing our smartphone’s camera settings let’s explore each tip in detail.
Tip 1: Adjusting Exposure and ISO Levels
The exposure and ISO settings have a significant impact on the quality of your photos. Exposure refers to the amount of light that reaches the camera sensor, while ISO measures the sensitivity of the sensor to light. Finding the right balance between exposure and ISO is crucial to avoid overexposed or underexposed images.
When shooting in dimly lit conditions, increasing the ISO can make the camera more sensitive to light, resulting in brighter photos. However, a high ISO setting can introduce noise and graininess to your images. On the other hand, when shooting in bright sunlight or well-lit environments, reducing the ISO can help maintain image clarity and sharpness.
Experimentation is key when adjusting exposure and ISO levels. Start by using the automatic mode to let your smartphone determine the optimal settings. If you find that the images are too bright or too dark, consider manually adjusting the exposure compensation or ISO settings to achieve your desired results. Remember, practice makes perfect, and understanding the impact of exposure and ISO on photo quality will help you capture better images in any lighting condition.
Tip 2: Mastering White Balance
Have you ever taken a photo that looks overly warm or has a blue tint? This issue can be attributed to incorrect white balance settings. White balance refers to the color temperature of the light in a scene. Different light sources emit light with varying color temperatures, ranging from warm (yellow/red) to cool (blue).
Understanding how to set the white balance correctly is crucial to ensure accurate colors in your photos. Most smartphones offer preset white balance options such as Auto, Daylight, Cloudy, and Tungsten. These presets automatically adjust the color temperature to match the lighting conditions. However, they may not always produce accurate results.
To master white balance, consider using the custom white balance option. This feature allows you to manually set the white balance by using a white or gray reference object in the scene. By doing so, you can ensure that the colors in your photos appear natural and true to life, regardless of the lighting conditions.
Tip 3: Utilizing Focus and Depth of Field
The focus of a photo determines what appears sharp and in focus. Whether you’re capturing a close-up portrait or a scenic landscape, understanding focus modes is crucial to ensure a clear and sharp image.
Most smartphones offer various focus modes, including Single Autofocus, Continuous Autofocus, and Manual Focus. Single Autofocus is ideal for still subjects, whereas Continuous Autofocus is perfect for capturing moving subjects. Manual Focus allows you to manually adjust the focus distance, giving you full control over the depth of field.
Speaking of depth of field, this refers to the range of distance that appears in sharp focus in a photo. Achieving a shallow depth of field can create a beautiful blurred background, drawing attention to the primary subject. To achieve this effect, try using portrait mode or manually adjusting the aperture settings, if available, in your smartphone camera app. Experimenting with different focus modes and depth of field techniques will allow you to capture stunning and creative shots.

Tip 4: Making the Most of HDR Mode
HDR (High Dynamic Range) mode is a fantastic feature available on most smartphones that helps capture images with a broader range of colors and details. When enabling HDR mode, your smartphone takes multiple photos at different exposures and combines them to create a final image with enhanced dynamic range.
HDR mode is especially beneficial in high-contrast scenes where you have bright highlights and deep shadows. It helps preserve details in both the bright and dark areas, resulting in a more balanced exposure. When shooting landscapes or architecture, enabling HDR mode can help bring out intricate details in the sky and shadows.
To make the most of HDR mode, familiarize yourself with the settings in your smartphone’s camera app. While most smartphones offer an auto HDR setting, consider experimenting with different HDR levels to find your preferred balance between realism and artistic effect. Remember to keep your smartphone steady when using HDR mode to avoid any potential blurriness caused by hand movement during the multiple exposures.
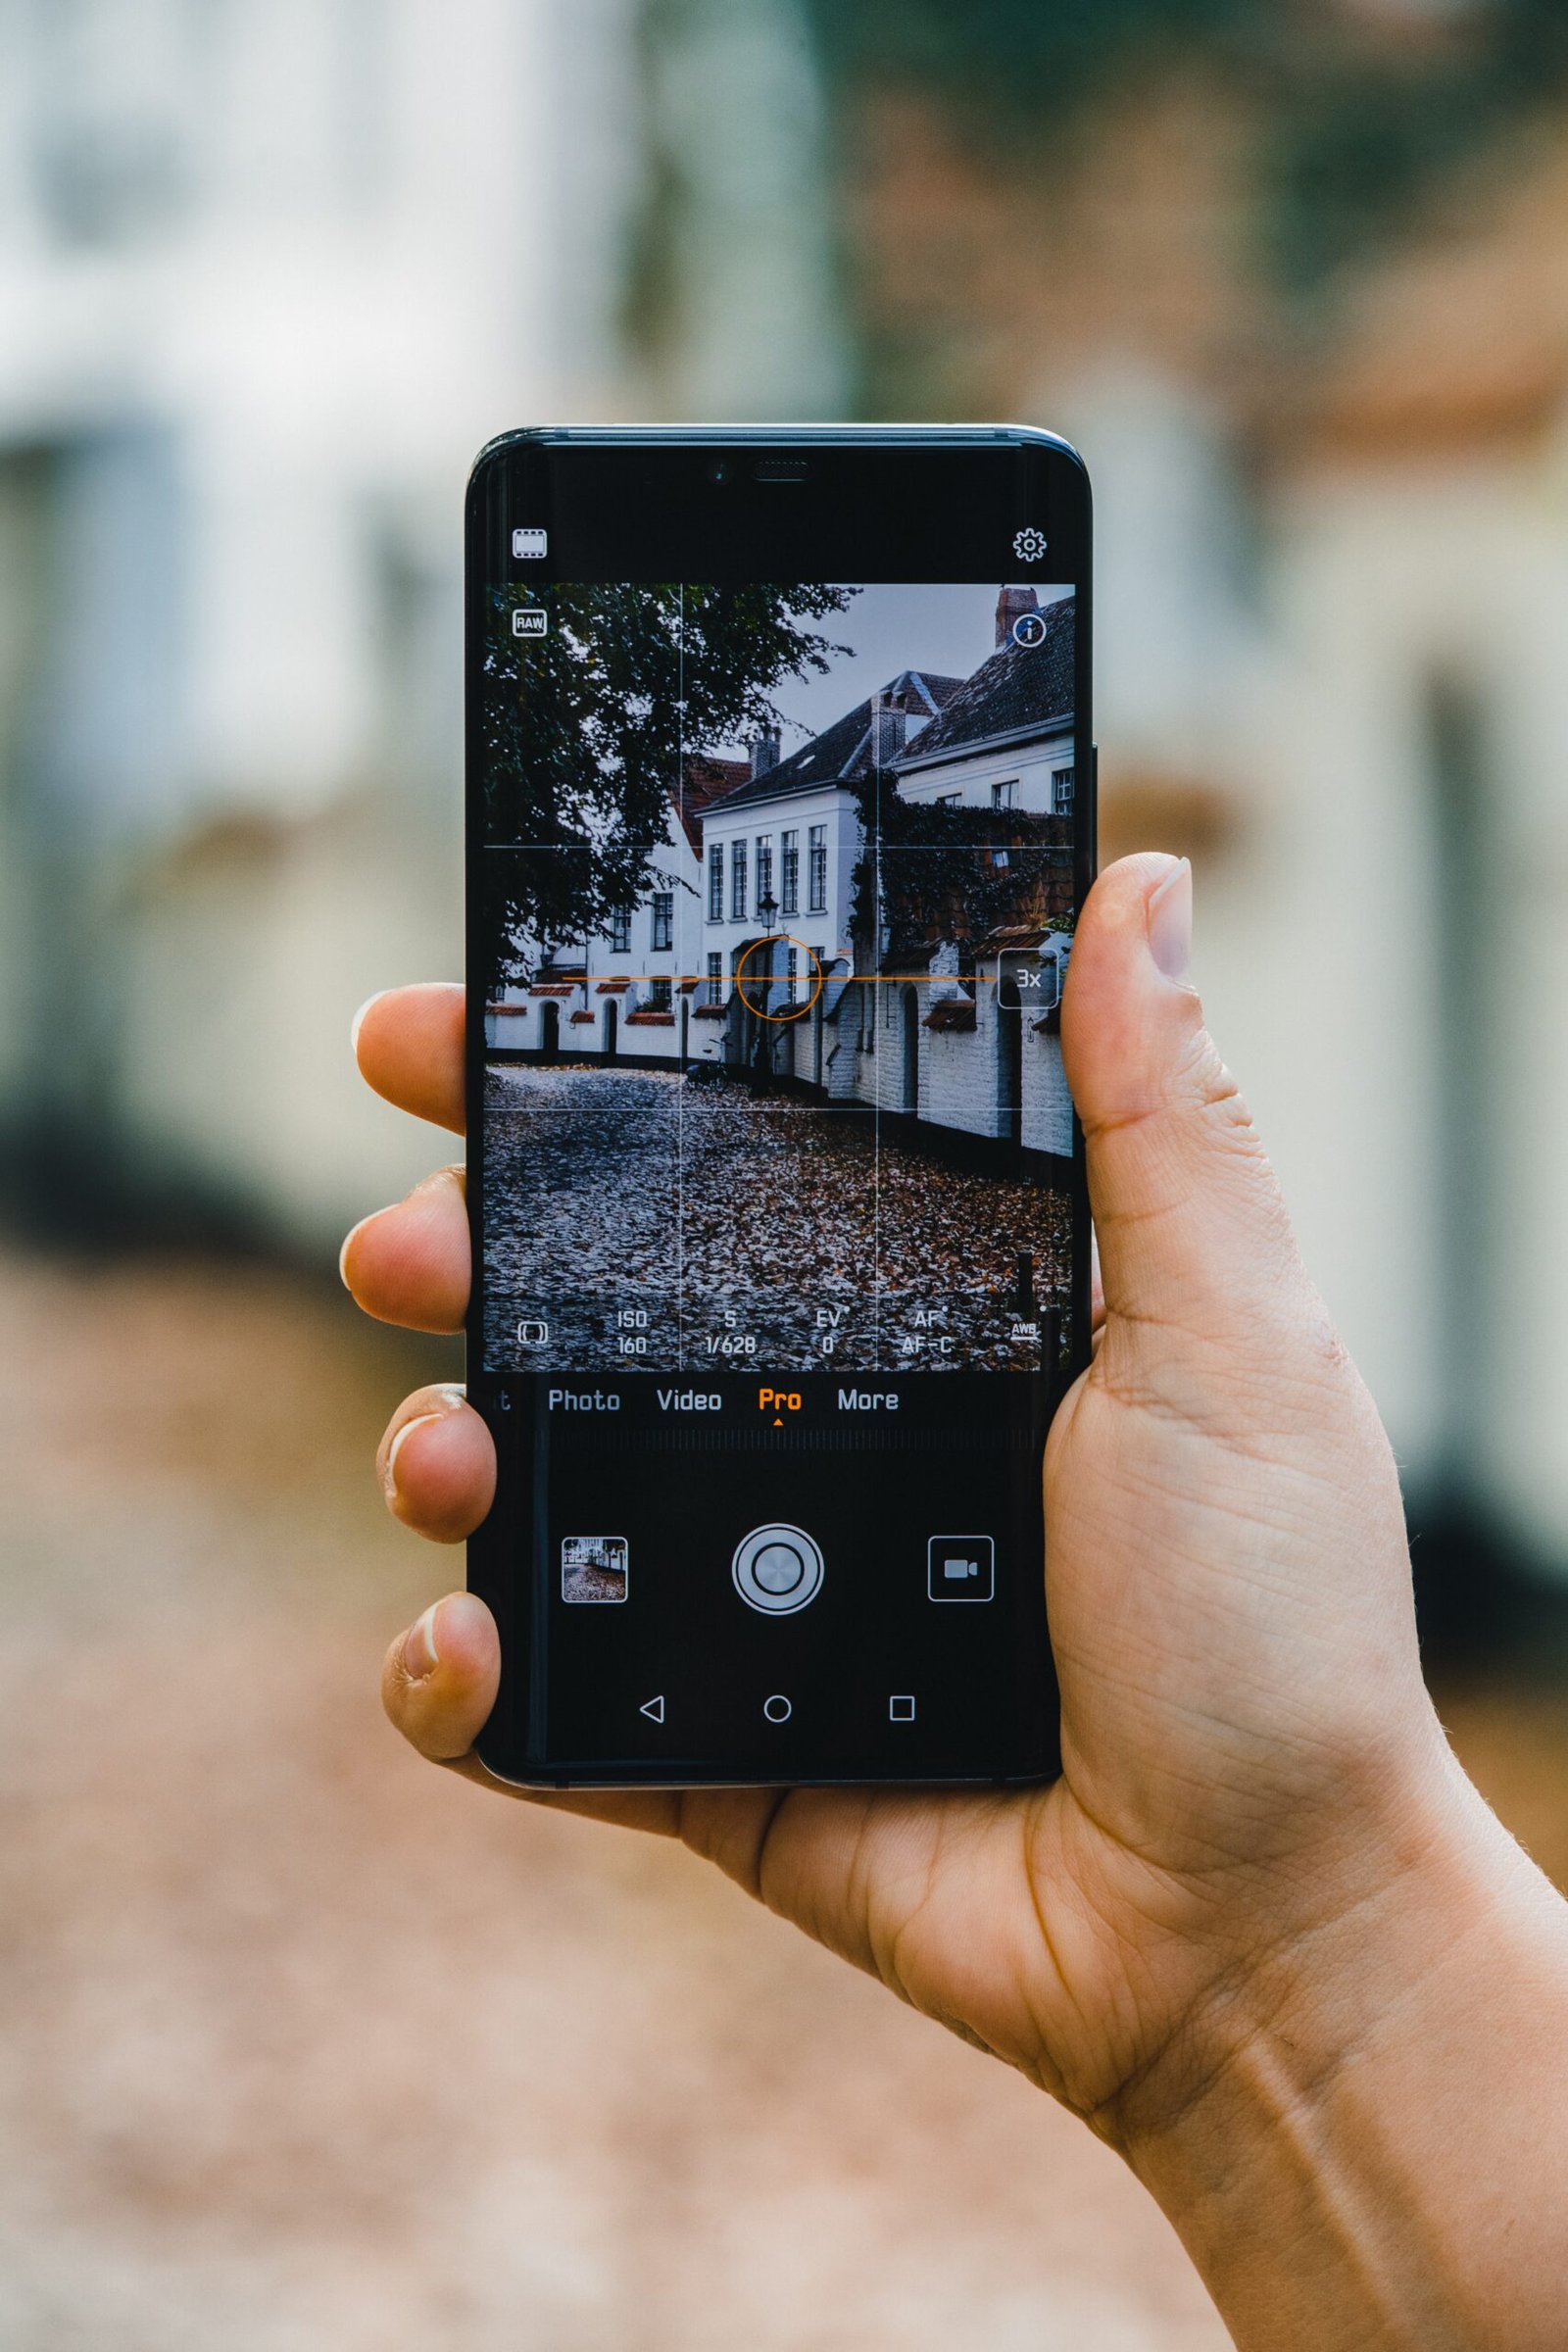
Tip 5: Leveraging Manual Mode for Full Control
For advanced smartphone photographers, manual mode is a powerful tool that offers complete control over the camera settings. It allows you to adjust essential parameters such as shutter speed, aperture, and ISO manually. While manual mode may initially seem intimidating, it provides an opportunity to unleash your creativity and capture stunning images tailored to your vision.
Adjusting the shutter speed enables you to control the amount of light entering the camera sensor and capture motion. Slower shutter speeds can create motion blur, perfect for capturing flowing water or light trails, while faster shutter speeds freeze action. Aperture controls the amount of light and the depth of field in your photos. Lower aperture values (e.g., f/1.8) create a shallow depth of field, ideal for portraits, while higher values (e.g., f/8) result in a larger depth of field, suitable for landscapes.
Experimenting with manual mode allows you to understand the relationship between these settings and how they impact your photos. Take your time to familiarize yourself with the various controls and their effects, and don’t be afraid to push your creative boundaries.

Conclusion
By understanding and optimizing your smartphone’s camera settings, you can elevate your photography skills and capture stunning images. Adjusting exposure and ISO levels, mastering white balance, utilizing focus and depth of field, making the most of HDR mode, and leveraging manual mode are all essential tips to optimize your smartphone camera settings for better photos.
Remember, practice and experimentation are key to developing your skills as a smartphone photographer. Take the time to explore and understand the capabilities of your smartphone’s camera, and don’t be afraid to push its limits. With each photo you capture, you’ll gain valuable experience and gradually enhance your ability to capture your vision in every shot. So grab your smartphone, head out, and start capturing amazing photos today!